You have the perfect photo—your child’s smiling face, your pet’s quirky expression, a stunning landscape from a favorite vacation. You glance at your Janome embroidery machine and imagine that moment captured in thread. But how do you bridge that gap? The journey from a digital photo on your phone to a physical, stitched masterpiece on fabric hinges on a single, crucial step: learning how to convert image to JEF file.
This process, known as digitizing, is what transforms a simple picture into the language your Janome understands. While it may seem like technical magic, it’s a skill any dedicated hobbyist can grasp. This guide will demystify the .JEF file format, explain the core principles of digitizing, and walk you through the practical methods to turn your cherished photos into custom embroidery designs.
What is a JEF File? The Language of Your Janome
Think of your Janome embroidery machine as a highly skilled, but very literal, robotic artist. It doesn’t “see” an image. Instead, it reads a set of precise, line-by-line instructions. A .JEF file (Janome Embroidery Format) is that instruction manual.
This proprietary format contains every detail your machine needs:
-
Stitch Coordinates: The exact X and Y positions for every single needle penetration.
-
Thread Color Changes: The order and specific palette numbers telling the machine when to switch threads.
-
Stitch Types: Commands for different stitch formations like satin stitches for outlines, fill stitches for areas of color, and running stitches for fine details.
-
Machine Commands: Instructions for trims, jumps, and pauses.
When you load a .JEF file onto a USB stick and into your Janome, you’re handing the machine this detailed blueprint. It then faithfully replicates those instructions with needle and thread. Other machines use different “languages” (like .PES for Brother or .VIP for Husqvarna), which is why a file meant for one brand typically won’t work on another without conversion.
From Pixels to Stitches: Understanding Digitizing
You cannot simply change a .JPEG file extension to .JEF and have it work. This is the most important concept to understand. Converting an image to JEF requires digitizing.
Digitizing is the process of manually or semi-automatically tracing over an image to create a map of stitches. A computer program (digitizing software) is used to define areas with specific stitch types, directions, and densities. It’s less like using a filter and more like being a technical cartographer, drawing a stitch-by-stitch roadmap of your image.
Why can’t the software just do it automatically?
While auto-digitize functions exist, they often produce poor results. A photograph has millions of colors, gradients, and soft edges. Embroidery uses solid thread colors and is best suited for defined shapes and areas of contrast. A human digitizer makes critical artistic decisions: simplifying details, choosing where to sacrifice realism for clarity, and ensuring the physical stitches will lay flat and look good on fabric.
Pre-Digitizing Prep: Choosing the Right Image
Your success starts long before you open software. Choosing a suitable image is 80% of the battle.
1. Seek High Contrast and Clear Shapes. The best images for embroidery conversion have:
-
Defined Edges: Think logos, bold line art, or illustrations.
-
Limited Colors: Images with 3-6 distinct colors digitize far more cleanly than photographs with gradients.
-
Simple Backgrounds: A cluttered or busy background will become a messy, thread-heavy nightmare. Often, you’ll remove the background entirely.
2. Avoid Complex Photos. Highly detailed portraits, landscapes with subtle skies, or pictures with shadows and fine textures are extremely challenging for beginners. They often require advanced digitizing skills to simplify effectively.
3. Edit Your Image First. Use a basic photo editor like Photoshop, GIMP, or even free online tools to:
-
Increase contrast to make edges pop.
-
Convert to a posterized effect to reduce the number of colors.
-
Crop out unnecessary parts of the image.
Method 1: Using Dedicated Digitizing Software
This is the professional method, offering full control and the highest quality results. Software like Embird, Hatch Embroidery, or Janome’s own Digitizer MBX are industry standards.
Step 1: Import Your Image.
Open your digitizing software and create a new file. Use the “Import” or “Insert Image” function to bring your prepared photo onto the digital hoop. Resize it to your desired final embroidery dimensions.
Step 2: Trace and Define Objects (The Core Work).
This is where you build the JEF file structure.
-
Use the software’s drawing tools (like the Bezier tool) to carefully trace the outline of each distinct color area in your image. Each closed shape becomes an “object.”
-
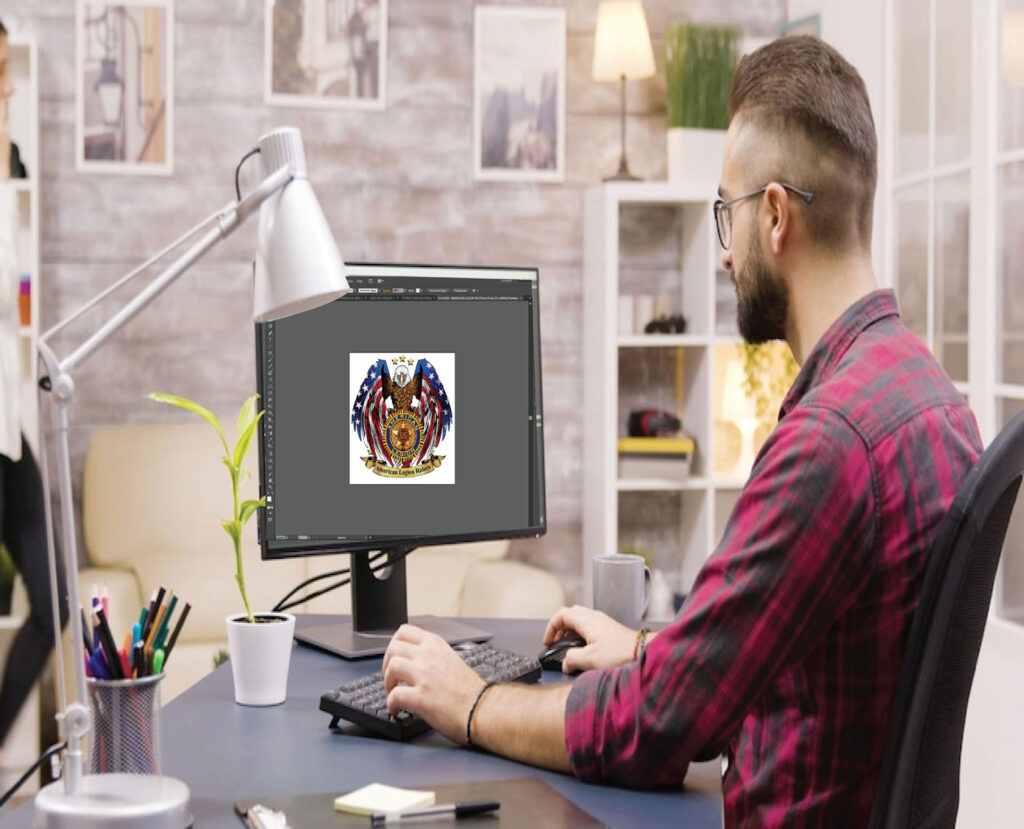
For example, for a simple apple logo, you would trace the outer red shape of the apple, the separate stem, and the leaf as individual objects.
Step 3: Assign Stitch Properties.
Select each object and tell the software how to stitch it.
-
Fill Stitches: Used for large interior areas (like the red part of the apple). You choose the stitch direction (angle), density (stitches per inch), and pattern.
-
Satin Stitches: Used for borders, text, and narrow elements (like the stem). You control the width and density.
-
Running Stitches: Used for very fine details and outlines.
Step 4: Define the Stitch Sequence and Colors.
Establish the order in which objects will be stitched. The rule is typically “background to foreground” and “least to most detail.” Then, assign a physical thread color to each object, often matching a brand like Janome’s own thread palette.
Step 5: Save As JEF and Simulate.
Before saving, use the software’s simulation or preview function. This shows you a realistic animation of how the design will sew out, allowing you to spot errors in jump stitches or sequence. Finally, go to File Save As and select .JEF as the format, ensuring you choose the correct version for your specific Janome model.
Method 2: Using Auto-Digitizing Software Online Tools
For simpler images or beginners, auto-digitizing can be a helpful starting point. Services like Stitchly, Ink/Stitch (a free Inkscape extension), or online converters offer a more automated approach.
Step 1: Upload Your Prepared Image.
Choose your service and upload the contrast-boosted, simplified image you prepared earlier.
Step 2: Apply Auto-Digitize Settings.
These tools will have sliders or options for:
-
Color Reduction: Specify the number of colors (start with 4 or fewer).
-
Detail Level: Lower detail for cleaner, simpler results.
-
Stitch Type Preference: Choose between more fill or more satin stitches.
Step 3: Generate and Edit.
The software will automatically generate a stitch file. Crucially, you must then edit it. The auto-result will rarely be perfect. Use the tool’s editing functions to clean up stray points, adjust awkward stitch angles, and merge small, unnecessary objects.
Step 4: Export as JEF.
Once you’ve cleaned up the design, export or save it in the .JEF format. Always, without exception, run a test stitch on scrap fabric before using it on your final project.
Best Practices for Successful Image-to-JEF Conversion
-
Start Extremely Simple. Your first project should be a two-color silhouette or a basic shape. Master the fundamentals before attempting a portrait.
-
Test, Test, Test. Always stitch your new .JEF file on the same fabric you plan to use for the final project. You’ll see how the stitches lay, check for puckering, and verify colors.
-
Understand Fabric Push Pull. Embroidery pulls the fabric. Digitizing requires compensation for this physical distortion, which is why manual digitizing offers more control than auto functions.
-
Keep a Library of Your JEFs. As you create files, organize them. Note the image source, any edits made, and the ideal fabric type for each design.
Conclusion: Unleashing Your Personal Creativity
Learning how to convert image to JEF file is the ultimate way to personalize your embroidery journey. It moves you from being a consumer of pre-made designs to a creator of truly unique, sentimental art. While the process has a learning curve, each project builds your understanding of how stitches translate into an image.
Remember, digitizing is part technical skill and part artistic interpretation. Your first few designs may not be gallery-ready, but they will be personally meaningful—a handwritten note, a simple family crest, a favorite cartoon character for a child’s jacket.
Start today. Choose a bold, black-and-white image. Follow the steps to trace its shapes in a software trial or a free tool, and generate your first JEF file. When you load that custom creation into your Janome and watch it come to life in thread, you’ll experience the unique satisfaction of having personally guided every stitch. Your photos are no longer just memories on a screen; they are now a tactile, enduring part of your world.